Unity制作的游戏由场景组成,场景中所有的物体都被成为Game Object,而精灵(Sprite)也是其中的一种。它在场景中有着十分广泛的用途,常常被用于实现游戏中控制的主角、ncp、怪物等。这里用于记录如何创建一个精灵并简单的使用它。
创建一个精灵
在创建一个精灵之前得先拥有一个Unity 2D的工程。
创建一个精灵最简单的方式就是在工程页面,右键工程名->GameObject->2D Object->Sprites->Square 依次选择,然后在给它取一个心爱的名称,这就是创建一个精灵的完整过程。
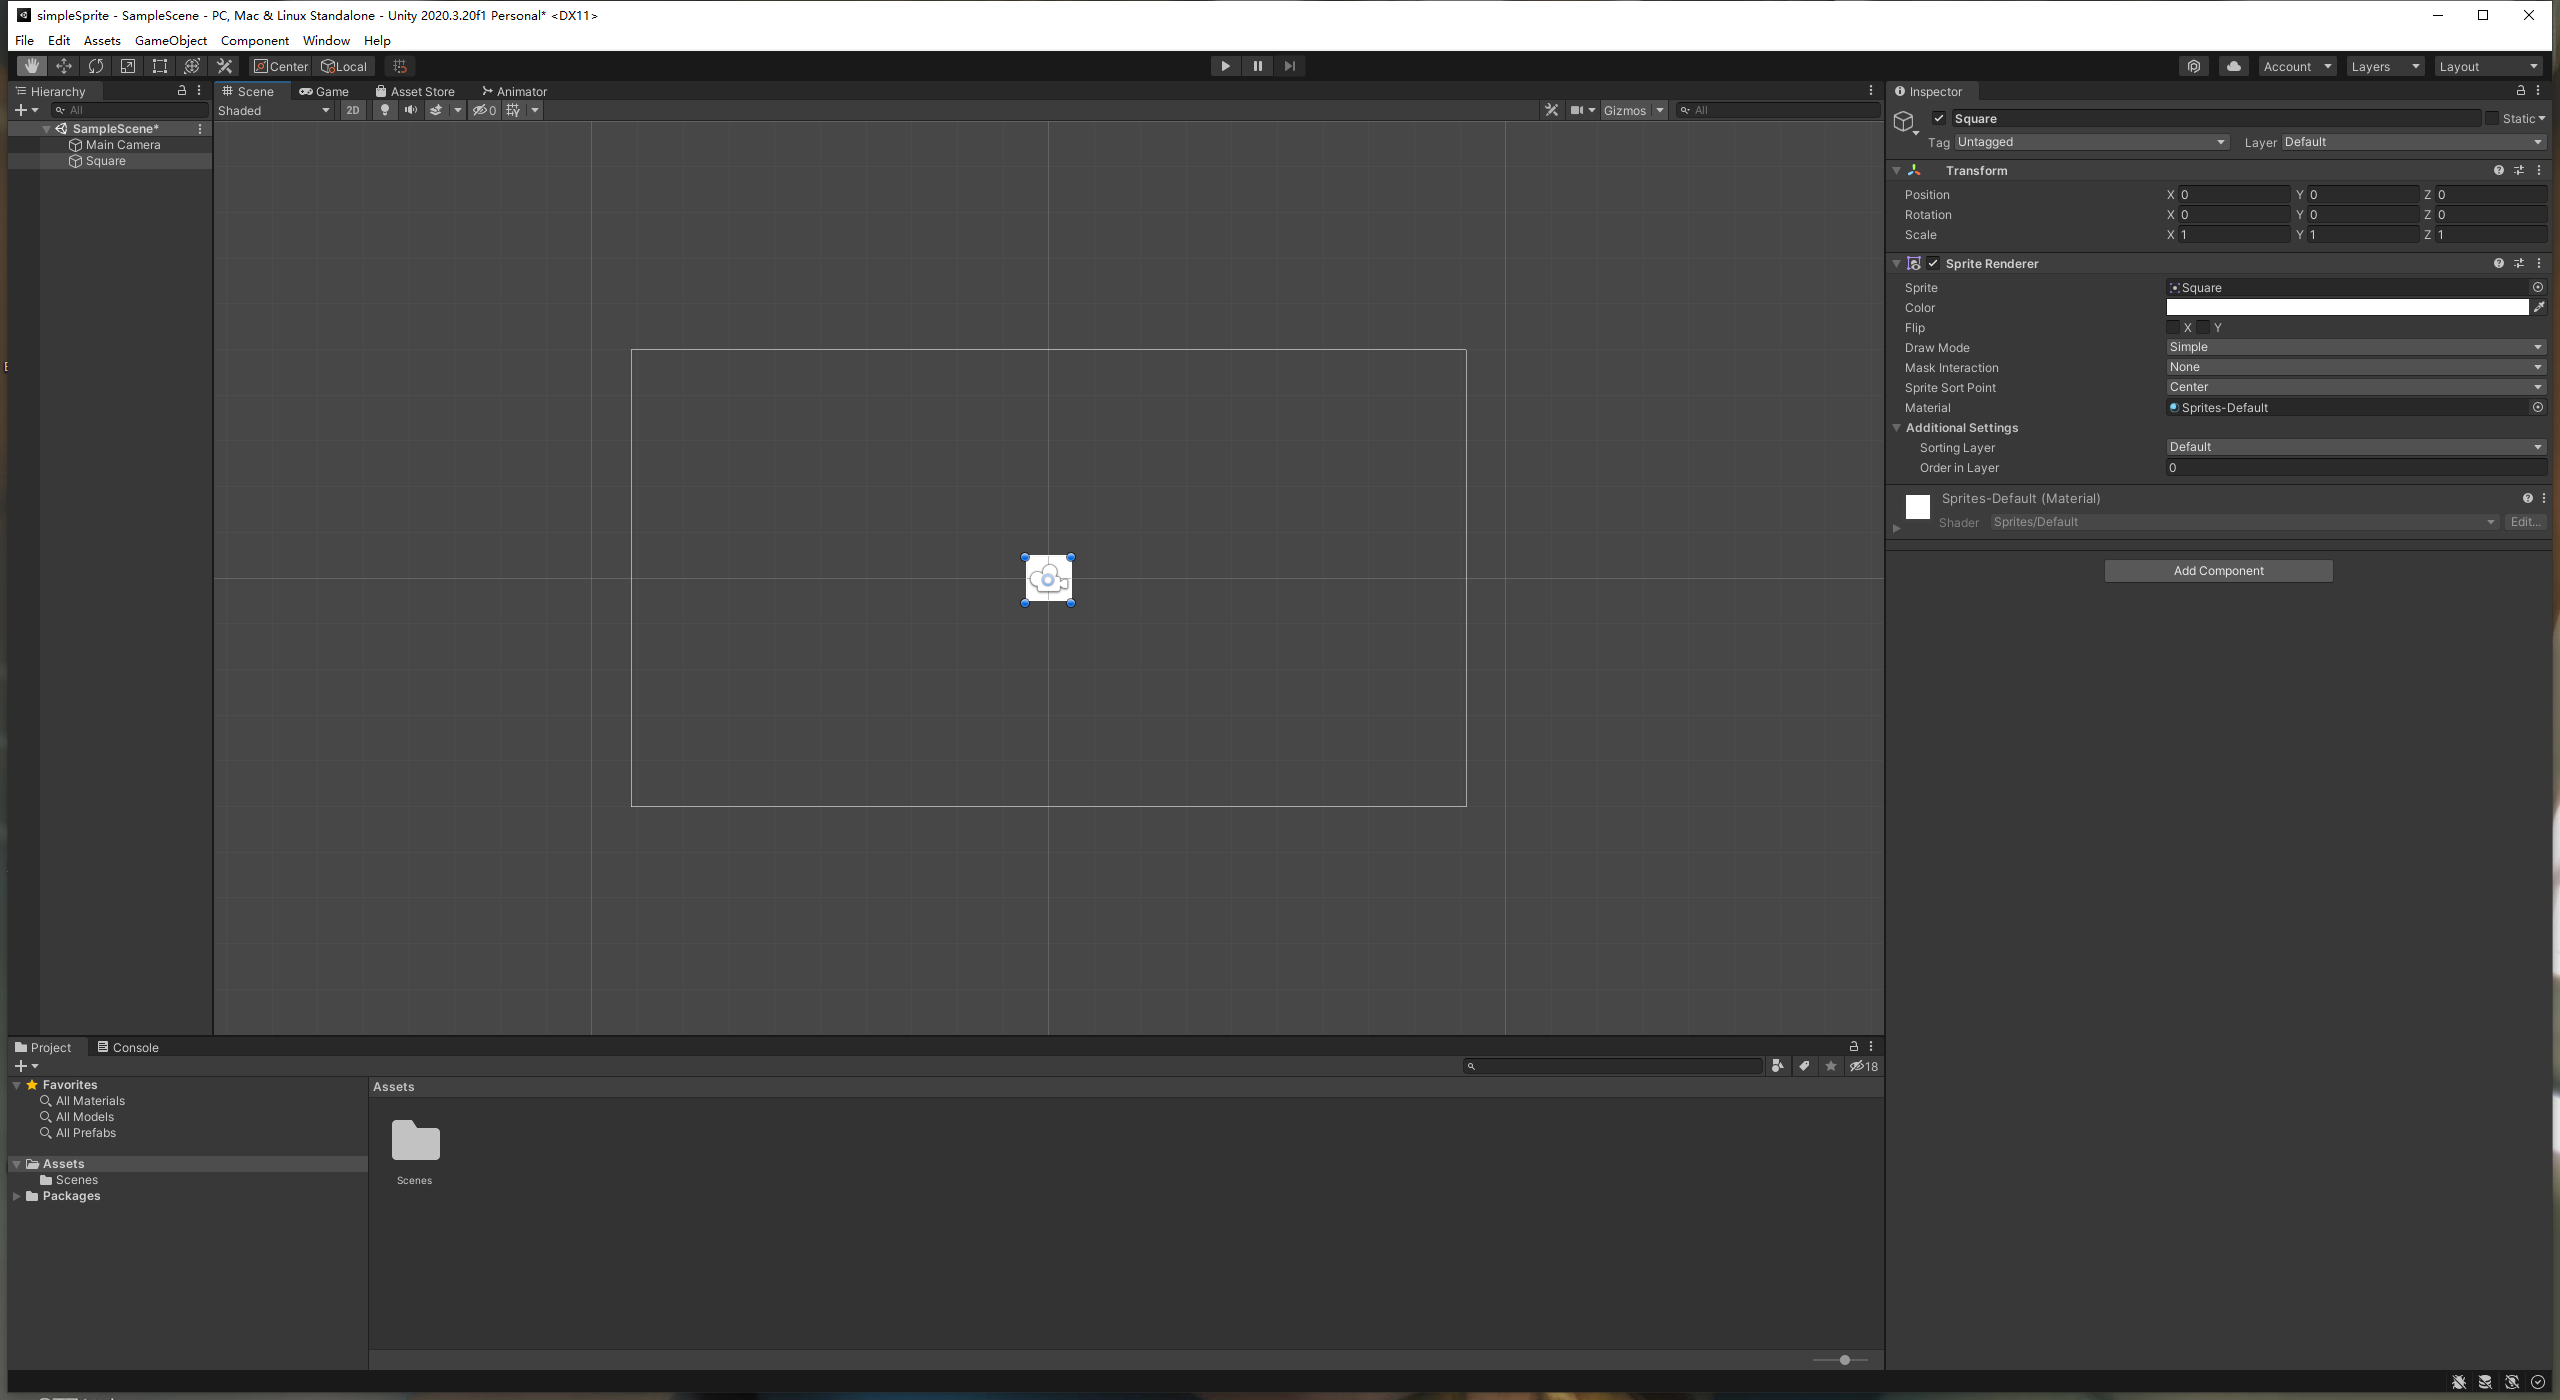
在右边的inspector window 中可以看到,一个默认的Sprite对象,含有两个componet,分别是Transform和Sprite Renderer。
- Transform 的功能是为Game Object提供位置、旋转、缩放三个信息,也可以通过调整这三个参数来实现对应的功能。
- Sprite Renderer 就是和它的名称一样是负责Sprite的渲染。
给精灵添加纹理
由于还没有对Sprite Renderer设置texture,所以在场景预览窗口中看的小白正方形就是精灵的本尊了。
给精灵添加Texture首先需要导入图片资源,在资源窗口中创建一个名为resource的文件夹,然后将准备好的资源文件拖拽到里面,或者右键import也行。
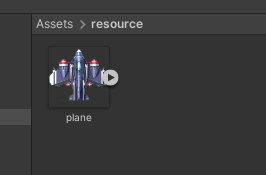
然后将图片拖拽到Sprite Renderer组件中sprite对应的输入框中即可,或者点击输入框选择资源文件也可以。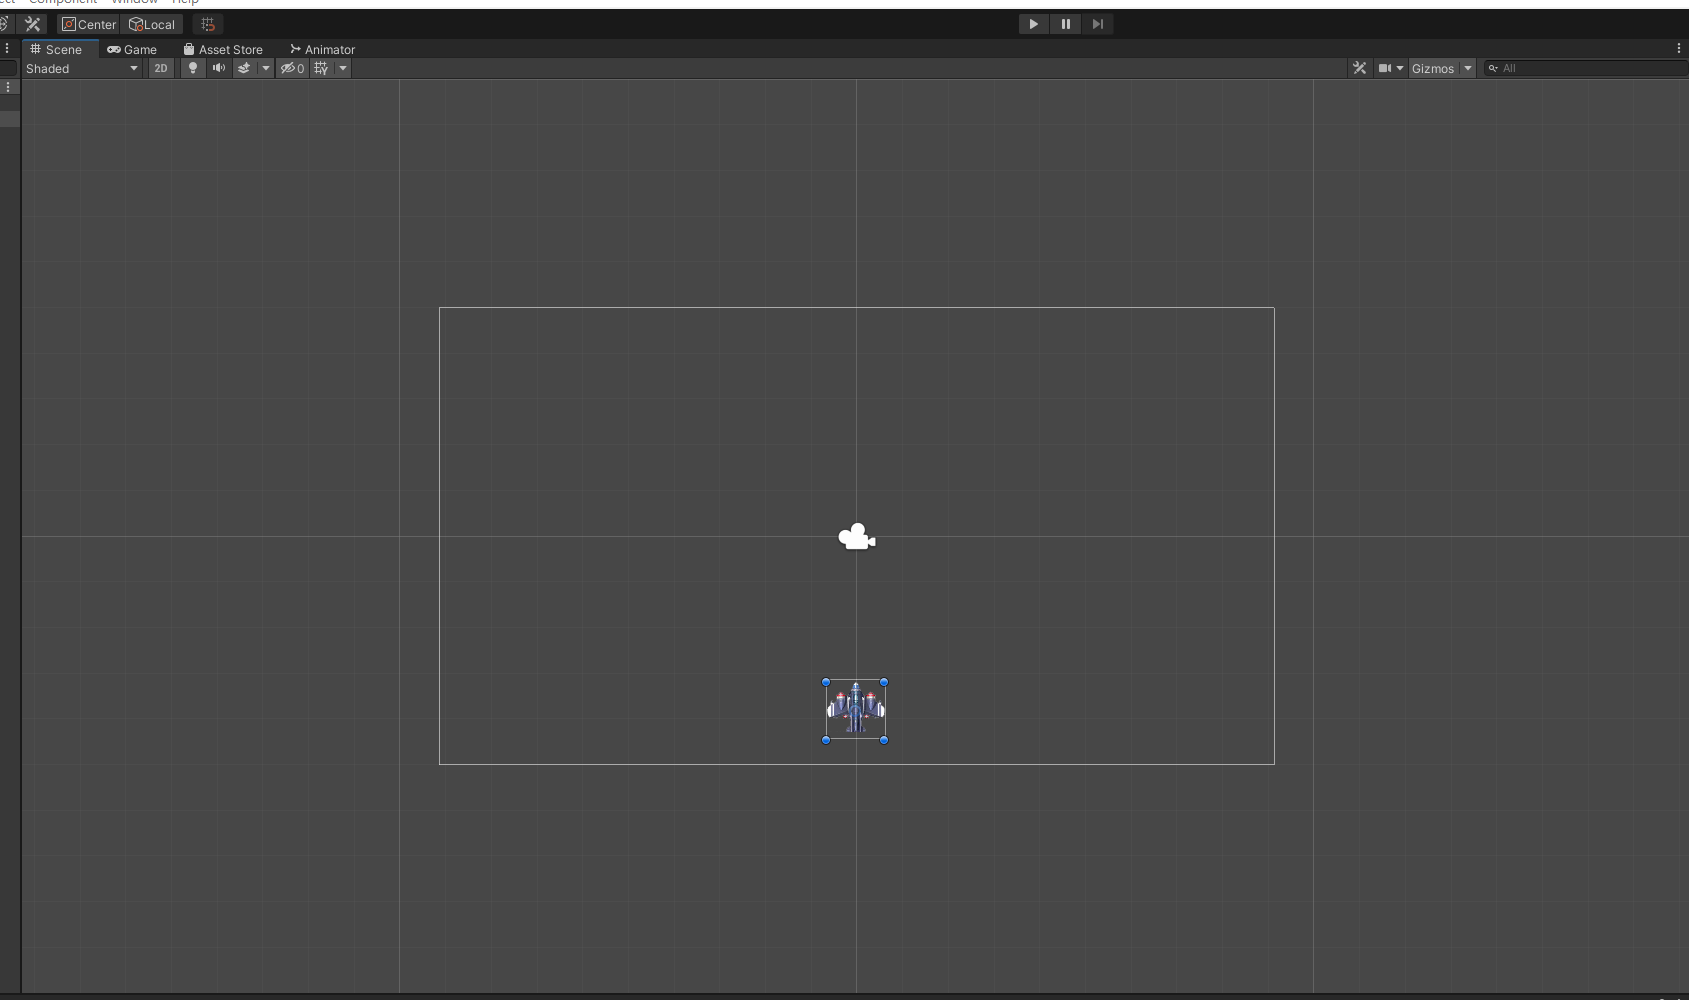
然后就可以看到之前的小方块变成小飞机了。
控制精灵移动
要使用键盘控制精灵移动,需要获取键盘事件所以这里就需要使用到C#脚本了。
和之前一样,先在资源管理器中建立一个script文件夹,然后右键菜单创建一个C#脚本。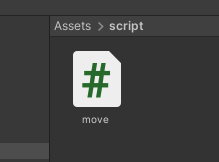
双击使用vs打开脚本,就可以将键盘事件的响应写在脚本中了。
using System.Collections;
using System.Collections.Generic;
using UnityEngine;

public class move : MonoBehaviour
{
    // Start is called before the first frame update
    public int speed = 3;
    void Start()
    {

    }

    // Update is called once per frame
    void Update()
    {
        //键盘按下时调整精灵的位置
        if (Input.GetKey(KeyCode.LeftArrow)) {
            Vector3 endPos = transform.position + Vector3.left * speed;
            transform.position = Vector3.Lerp(transform.position, endPos, Time.deltaTime);
        }
        //键盘按下时调整精灵的位置
        if (Input.GetKey(KeyCode.RightArrow))
        {
            Vector3 endPos = transform.position + Vector3.right * speed;
            transform.position = Vector3.Lerp(transform.position, endPos, Time.deltaTime);
        }
    }
}
在脚本中使用Input对象的GetKey()函数获取键盘是否按下,这里需要说明一下update()函数在每一帧都会被调用一下,所以不能将精灵的移动的位置直接赋值给transform对象,需要通过deltaTime(每一帧消耗的时间)计算出精灵每一帧移动的距离,然后在进行赋值,这样才能做到精灵平滑的移动。
创建一个预制件
使用Game Object可以创建名为"预制件"的东西,通过预制件可以创建或者实例化已经制作好的Game Object的新副本。
首先创建一个可以自己移动的导弹精灵,步骤与之前的一样。
为精灵添加一个可以自动改变位置的脚本
using System.Collections;
using System.Collections.Generic;
using UnityEngine;

public class bulletMove : MonoBehaviour
{
    // Start is called before the first frame update
    public int speed = 1;
    //精灵移动的最大距离
    public int maxDetection = 100;
    //精灵的起始位置,因为只向上移动,所以只记录Y轴的值
    private float startPos = 0;
    void Start()
    {
        startPos = transform.position.y;
    }

    // Update is called once per frame
    void Update()
    {
        //使精灵在场景中一直向上移动
        transform.position = Vector3.Lerp(transform.position, transform.position + Vector3.up * speed, Time.deltaTime);
        //检测运行距离
        detectionDistance();
    }

    //检测精灵移动距离,距离超过设置距离后消失
    void detectionDistance() {
        if (transform.position.y - startPos > maxDetection)
            Destroy(gameObject);
    }
}
这个脚本主中实现了精灵的自动向上移动,并且当移动到一定的距离就会自己消失掉。可以通过speed和maxDetection参数来调整移动的速度与消失的距离。
最后在资源管理器中新建以一个Sprite文件夹,将hierarchy window 中刚刚创建的这个精灵拖拽进去,这样就生成了一个预制体,我将这个预制体命名为bullet。
使用脚本创建精灵
目前创建了plane的精灵和bullet的预制体,现在要干嘛?当然是用plane将bullet发射出去。
这个功能需要在响应发射案件时在scene中生成一个bullet精灵,由于之前已经写好了bullet的移动逻辑,那么这个时候bullet就会自己向上移动,直到消失。
using System.Collections;
using System.Collections.Generic;
using UnityEngine;

public class move : MonoBehaviour
{
    // Start is called before the first frame update
    public int speed = 3;
    public GameObject Bullet;
    void Start()
    {

    }

    // Update is called once per frame
    void Update()
    {
        //键盘按下时调整精灵的位置
        if (Input.GetKey(KeyCode.LeftArrow)) {
            Vector3 endPos = transform.position + Vector3.left * speed;
            transform.position = Vector3.Lerp(transform.position, endPos, Time.deltaTime);
        }
        //键盘按下时调整精灵的位置
        if (Input.GetKey(KeyCode.RightArrow))
        {
            Vector3 endPos = transform.position + Vector3.right * speed;
            transform.position = Vector3.Lerp(transform.position, endPos, Time.deltaTime);
        }
        //按下空格发射子弹
        if (Input.GetKeyDown(KeyCode.Space))
        {
            GameObject bulletInstance = Instantiate(Bullet, transform.position + Vector3.up * 2, Quaternion.identity);
        }
    }
}
将之前应用到plane中的脚本修改了一下,增加了一个GameObject对象Bullet,然后在空格键按下的时候,使用instantiate()函数复制一个Bullte对象,并且给他设置了一个初始的位置。
这样就相当于在这里创建了一个跟bullet一模一样的精灵。
在脚本中并没有初始化Bullet,所以这样直接将脚本附加到精灵上运行是会出现错误的。
将脚本附加到精灵上时,在inspector window 上会看到这个
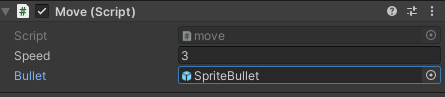
这里可以将之前的创建的导弹预制体拖拽到Bullet的编辑框中将它初始化。这样就可以正常使用脚本了。
为精灵添加碰撞检测
先创建一个enemy精灵,为精灵添加一个纹理。
然后在inspector window 中点击add component ,找到 Box collider 2D 和 rigibody 2d 为精灵添加上。
rigibody 2D 会为精灵添加一些列的物理仿真效果,使精灵获得质量、阻尼系数、重力等属性,在这里需要将重力(Gravite Scale)设置为0,否则场景中的enemy精灵会一直往下掉。
Box collider 2D 会为精灵添加一个碰撞包围盒,让精灵可以参加碰撞检测,这里需要将组件中的is trigger打上勾,这样会使得精灵在被碰撞时调用脚本中的 void OnTriggerEnter2D(Collider2D collidedObject),只要在脚本中实现这个函数,就可以在碰撞被触发的时候做一些事情。
比如在脚本里实现让enemy在被碰撞的时候消失
using System.Collections;
using System.Collections.Generic;
using UnityEngine;

public class Death : MonoBehaviour
{
    // Start is called before the first frame update
    void Start()
    {

    }

    // Update is called once per frame
    void Update()
    {

    }
        //碰撞检测触发函数
    void OnTriggerEnter2D(Collider2D collidedObject) {
        Destroy(gameObject);
    }
}
最后在为之前创建的导弹预制体添加一个box collider 2D ,让它可以触发碰撞。
最后就可以看到这样的效果
那么以上就是关于精灵的一些简单的用法啦
这篇博文中使用的代码放到了这里:https://gitee.com/dalianmiaomiao/learn-unity2-d/tree/master/simpleSprite
需要的可以自取QAQ


文章评论